Linework is usually the first step in most tattoos. However, when you get into realism or black and gray tattoos, you might not use lines at all because there’s no real “outline.” You’ll only use shading techniques for the entire piece.
However, learning how to tattoo without linework can be complicated, especially when it comes to protecting your stencil and creating a defined shape without “edges.”
To help, in this article, we’ll be breaking down:
How to Tattoo Using Only Shading
1
Make Sure Your Stencil is Perfect
If you are not doing any linework, you need to make sure your stencil will be sticking around for a long time. If there are no solid lines in the design and the stencil rubs off, you have nothing to go off of.
One of the most important parts of making sure the stencil stays is to give the stencil plenty of time to dry.2
Get a Feel for the Details with a Round Liner
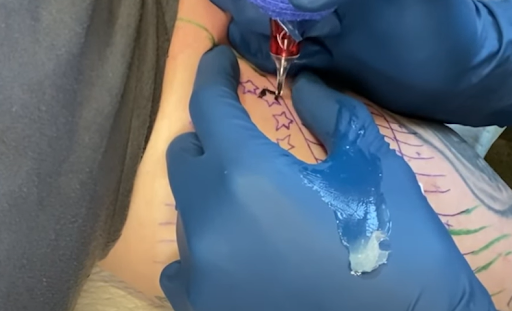
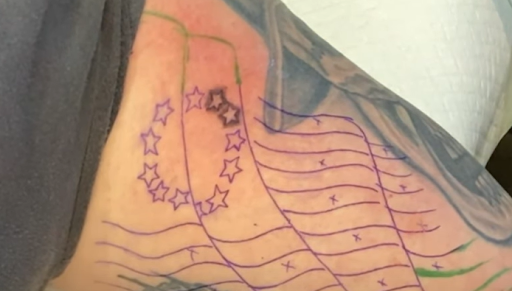
Even though this tattoo doesn’t have linework, you can use a round liner to get a feel for what you need to be doing. In the video, Brandon goes over a few of the stars lightly with a round liner before using a mag for the rest.
In this case, he used a regular mag (not a curved mag) so he could go right up against the stencil’s lines and keep it looking crisp.
3
Work Darkest to Lightest
When working with gray wash, you always want to start with your darkest areas first and work toward going lighter.
Make sure to fill in any areas of solid black first before moving to mid tones and light shades.
Any small details that you might use a round shader for will go last.
4
Pendulum Shading Recommended
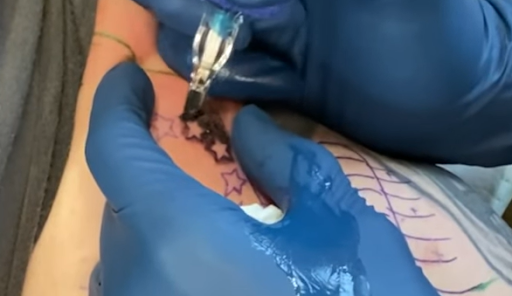
With a style like realism, we recommend using pendulum shading. (Whip shading is usually used for Traditional, Neotraditional, etc.)
Pendulum shading allows you to just lightly brush over the top of the skin and create different tones in the tattoo. If you’re used to whip shading and going deeper into the skin, make sure to lower your voltage for this type of pendulum shading.
You’re not trying to get all the ink in the skin the first time; you’ll want to build up layers of tones.5
Use Different Tones
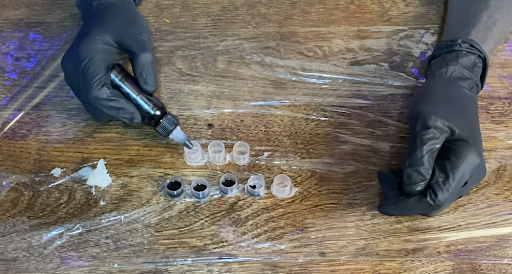
Once you’re done with all the areas that will be solid black, you’re ready to use your gray washes.
While you may want more ink caps to create a wider range of tones, the gray wash measurements used in the video above are:
You’ll fill each of the caps up to the top with distilled water or witch hazel.
6
Pick the Right Areas for Shading
If you’re doing a tattoo in black and gray, you’ll need to choose gray tones to correspond with the colors in an image. In this flag, for example, the gray tone will match up with the red stripes of the flag.
When you’re deciding where to put your different tones, you want to make sure you’re getting the shading from the actual picture.
To do this, you can put an image into Procreate and change the brightness and darkness until you can more easily see where the light and dark tones are (despite what color they are).7
Follow the Stencil
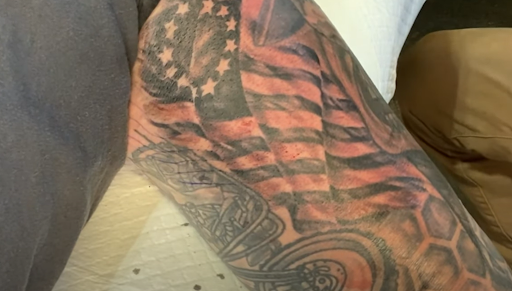
Since you don’t have linework to “lock in” the stencil, you’ll need to do it with your shading. Remember to skip areas where you’ll be using a lighter gray wash (like the lighter areas in the ripples of this flag).
8
Add Details With a Round Shader
Once all your shading is done, you can use a round shader to go through and add details (like the stitching in the flag) to enhance the image. Continue to use light passes, as you won’t want to make the details too dark or overwork the skin.
9
Use Bactine to Help With Redness
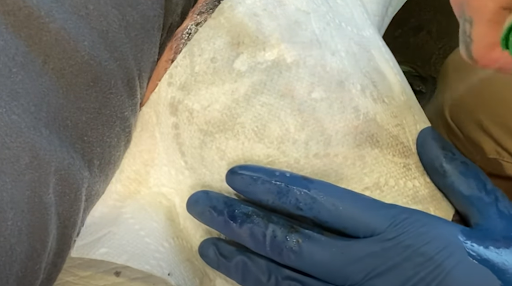
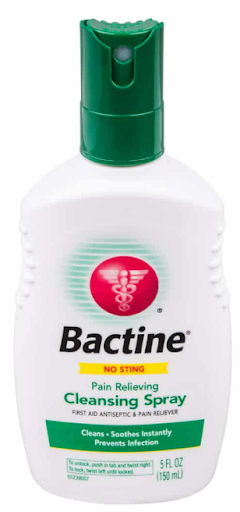
After you’re done tattooing, spray down the area with Bactine. It will help the redness go down so you can get a good picture of it.
We recommend spraying down the whole area and then covering it with a paper towel so the Bactine doesn’t leak onto the ground. Let it sit for 10 minutes before taking a photo.
Prepare for a Tattooing Career with the Artist Accelerator Program
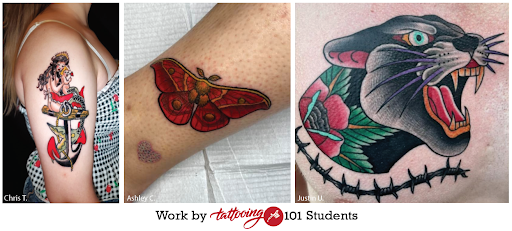
Learning how to create realistic tattoos is an exciting step in your journey, but it can also be pretty eye-opening to how difficult tattooing can be. Without the right knowledge, it’s impossible to level up your skills and become a professional tattoo artist.
However, finding the straight-forward information you need to progress is difficult. And with so much out there online, it’s hard to avoid picking up bad habits from incorrect and outdated resources.
This is one of the biggest struggles new tattooers face, and too many talented artists have given up their goal of getting into tattooing because of the years it would take to unlearn their bad habits.
That’s why aspiring artists are learning to tattoo with the Artist Accelerator Program’s structured course. As a student, you learn every step of the tattooing process from professional artists with the experience and advice you need to build your skills and create incredible tattoos.
With the Artist Accelerator, you can stop wasting time searching through incorrect information. You just get the clear, easy-to-understand lessons you need to start improving fast… along with support and personalized feedback from professional artists in our online Mastermind group.
Over 2500 students have already gone through the course, with many of them opening up their own studios. If you want to join them and learn the skills you need to start tattooing full time faster…
Click here to learn more about the Artist Accelerator Program.

