Even before you pick up a tattoo machine, it is important for aspiring tattoo artists to learn how to design a tattoo. However, drawing for a tattoo design is different from drawing for any other art form because you need to include the curves of the body in your design.
If you don’t feel confident in your drawing skills, or you aren’t sure what makes drawing a tattoo different from something you’d create on paper, keep reading.
In this article, we’ll be breaking down how to:
Drawing Tips for Tattoos
As a new tattoo artist, it’s really tempting to skip learning how to draw and get right to tattooing. However, this will set you back in your career. It’s very hard to be accepted into a tattoo shop if you don’t know how to create unique tattoo designs.
If you’re new to drawing, here are three things you need to know that will immediately help you start creating better tattoo designs:
1
Incorporate Old Tattoos
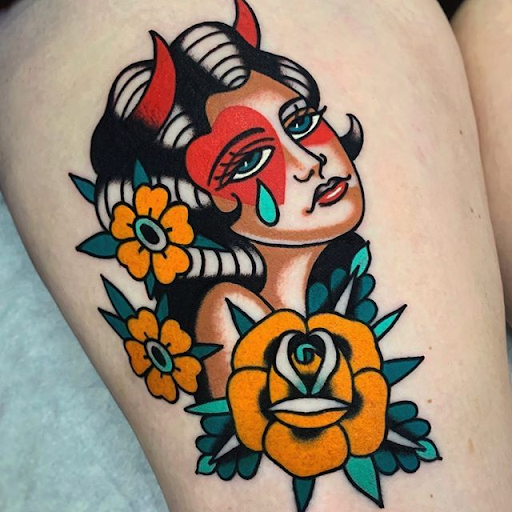
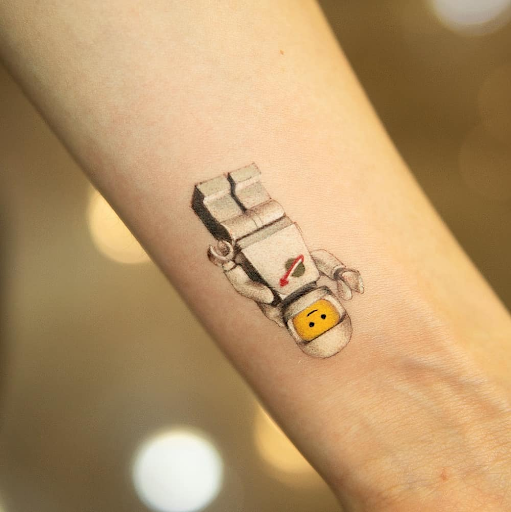
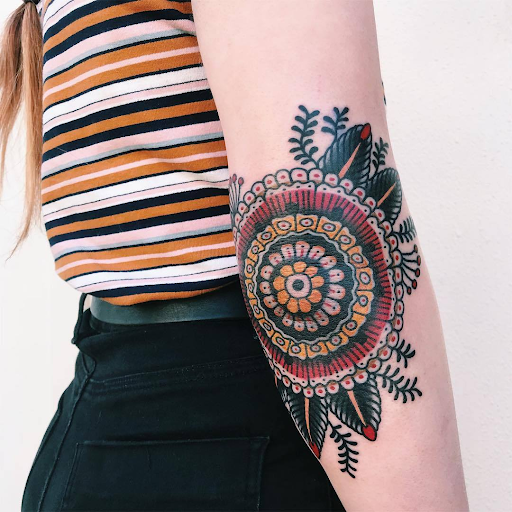
If you’re designing a tattoo for a client, it’s important to know if they already have tattoos around the area you’ll be working with. If they do, you will want to incorporate that tattoo with the flow of the new tattoo.
Pro Tip:
If you’re drawing on an iPad, it can be helpful to draw on top of an image of the body part you’re tattooing. We highly recommend using a photo of your actual client, if possible. This makes it easier to incorporate old tattoos and make sure you understand the flow of their body exactly.
Note:
Some clients will want different tattoo styles (for example, they might have a geometric tattoo next to a design in the American Traditional tattoo style). However, some clients will want all their pieces to be in the same tattoo style.
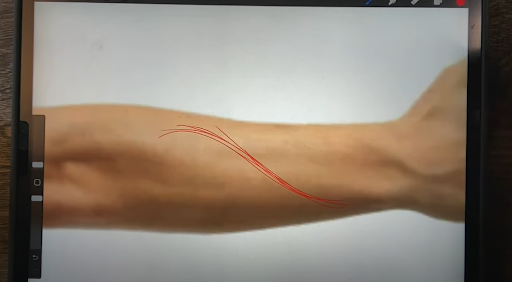
Every part of the body flows in a sort of “S-shape” because of how the muscles are formed. So instead of drawing something and then trying to put it somewhere on the body, you can use that S-shape formation to guide the shape of the tattoo design.
To help yourself design with flow, you can go ahead and mark out the “flow lines” before you start designing. For example, in this picture you can see how to outline the flow of the body before drawing this forearm tattoo.
Pro Tip:
Some clients want to draw their own tattoo. In that case, they might not understand the concept of flow. If this happens, you can thank them for sharing their own art with you, and then ask if they’re comfortable with you reworking pieces of their design or using their design as inspiration so you can create a tattoo that will work great with the flow of their body.
Note:
“Flow” is more important for some tattoo styles than others. With tribal tattoos, flow is extremely important to make the design look like it belongs on the client. With small American Traditional tattoos, or designs that are more like “sticker tattoos,” flow is not as prominent in the design. (However, you should try to place the tattoo in a way that works with the flow of the client’s muscles.)
3
Use Three Different “Layers” For Each Drawing
The best way to draw tattoo art is to work in layers. Most tattoo artists use a red pencil for the first layer, blue for the second, and black for the third and final layer.
This “layers” method mimcks the layers of tracing paper artists had to use before digital design tools were available.
Red Pencil
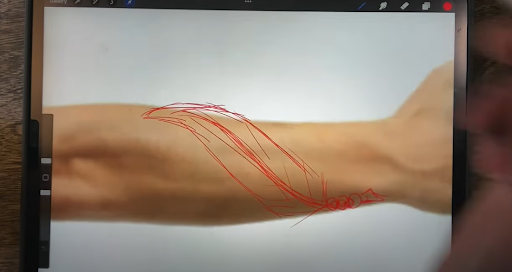
In the first layer, use your red pencil to outline the general shape of your design. (This might look “messy” at first). However, it helps you understand exactly where everything in the design needs to go before you spend time drawing everything in detail.
Your red layer will generally be a quick sketch, but you’ll have the flow, size, and basic shape of the design done.
Pro Tip:
If you’re using Procreate, make sure each color pencil/pen is on a new layer so you can turn down the opacity/hide layers as needed.
Note:
If you’re struggling to draw “from scratch,” look at tattoo magazines or body art books for inspiration. In the tattoo world, you never want to copy another artist. But you can combine ideas or use another design for inspiration and make your own changes to it.
Blue Pencil

With your blue pencil, you’ll go through and define the basic design. It’s not your final design; it is a rough draft. However, it’ll be more specific than the basic shapes you used in the red layer.
Pro Tip:
If you’re working on an iPad with Procreate, you can draw a straight line and keep the tip of your pen on the screen until the iPad corrects your line and makes it perfectly straight. (This is super helpful for making a stencil later.) After making your perfect line, you can adjust it to make the line curve. You can repeat this process to make perfect shapes as well.
Black Pen
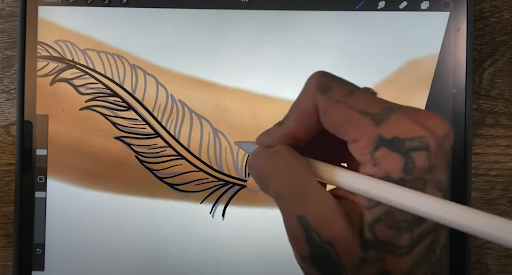
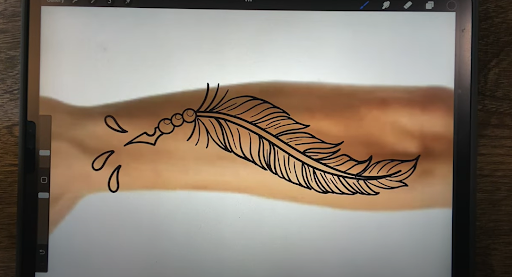
You’ll use a black pen or marker (or a pen brush on Procreate) to create your final design. Here, you’ll carefully go over your linework and make any final changes to the design. This layer will be used to make your stencil, so you want to make everything as perfect as possible.
This is also where you’ll add in all the details you want to include in the design. You want everything in the tattoo design to be just how you want it before you begin tattooing.
Note:
If you’re on Procreate, we recommend using a brush that is the same size as the needle you’ll be using to tattoo. For example, if you’re using a 14 Round Liner in your tattoo, you’ll want a thicker line for your stencil.
Pro Tip:
If you want to quickly switch between thick and thin lines on Procreate, you can do that by using a brush that changes thickness depending on how much pressure you put on the pen. For example, Digi Penn Steady allows you to do this.
Learn to Master Tattooing
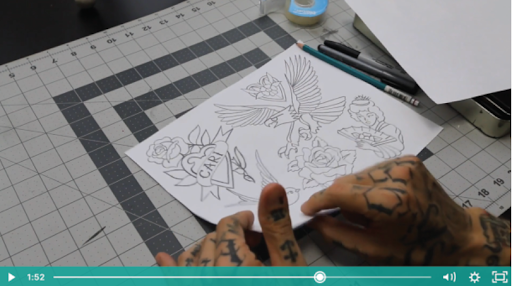
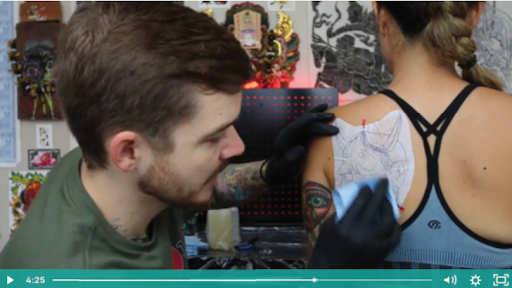
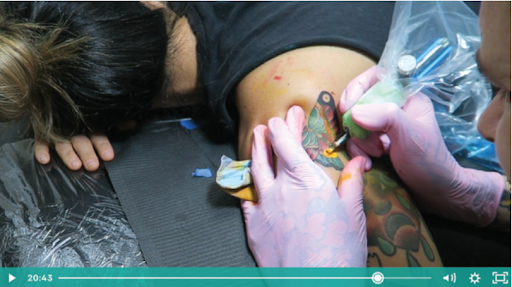
Learning to design amazing tattoos is only the first step on your journey to becoming a tattoo artist. Next, you need to learn how to apply them to the skin with proper technique.
There’s a ton of information out there that promises to teach you to tattoo, but a lot of it is outdated or incorrect. This is why most tattoo artists trying to learn online pick up bad habits that can take years to unlearn, making it hard to get to the professional level and work in a tattoo studio.
If you want to learn how to tattoo the right way, you can still do it online and at your own pace.
We created the Artist Accelerator Program to give aspiring artists all the lessons and techniques they need in an easy-to-follow, 9-step roadmap that can take anyone from complete beginner to professional tattoo artist in as little as 90 days.
Inside the program, you’ll learn the skills tattoo artists use every day, get personalized guidance from professionals, and put together a portfolio that gets you hired.
Skip the years of trial and error and start building a career you love today.
Click here to check out the Artist Accelerator Program.
