Rotary tattoo machines use a direct drive motor to push ink into the skin. Because of this, they are much easier to set up than a traditional coil machine that has several pieces that need adjusting before doing a tattoo.
Because they’re easy to set up, we highly recommend rotary machines (or pen machines that use the same direct drive motor as a rotary) to beginner tattoo artists.
Even though they use a simpler setup, new artists still need to know a few things about their machines before they start tattooing.
In this article, we’ll be breaking down what those details are, including:
How to Tattoo with a Rotary Machine
Make Sure You Have the Right Type of Machine
Different machines work better for different styles. For example, realism artists will want a different machine than a neo traditional artist. Which style of tattooing you want to do will affect which rotary machine you choose.
A big part of your choice is what stroke your machine has. Some machines let you change the stroke while others are “set stroke” machines.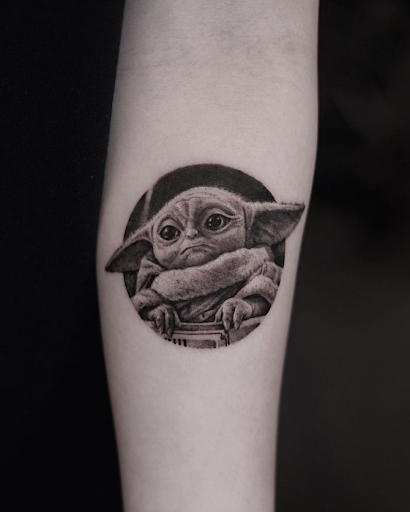
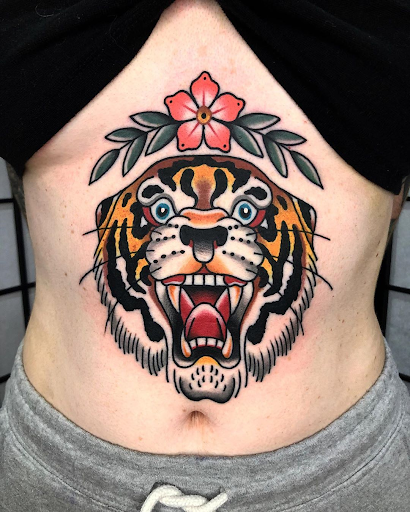
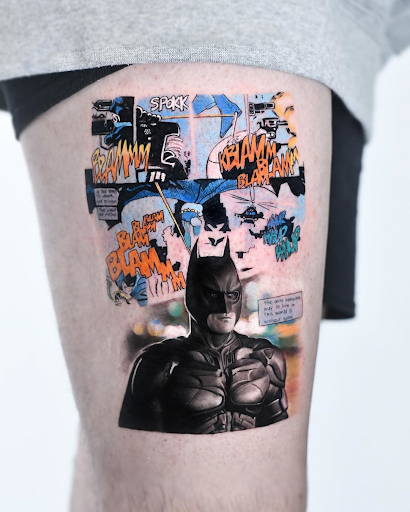
If you plan to do a lot of realism or black and gray work, then you will want a machine with a 2.5-3mm stroke. If you are more interested in Traditional and Neo Traditional tattooing, then you would want to go toward a 4mm+ stroke.
If you’re not sure which style interests you yet, we recommend getting a machine with a 3.5mm stroke. This will let you do a bit of everything until you specialize in a style.
Our Top Recommendation: Inkjecta Flite Nano

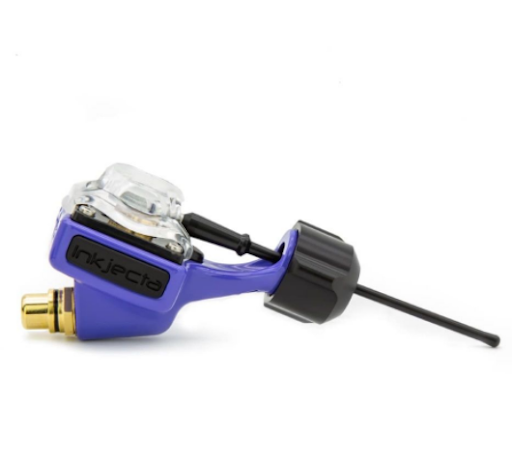
We are huge fans of Inkjecta* tattoo machines. They work well for almost any style because you can change the stroke and change how hard the machine hits by using bars that have different levels of flexibility.
For example, if you’re doing a lot of color packing, you need your machine to hit harder, which means you need a harder needle bar. If you’re doing several layers of shading, you want to protect the skin from getting overworked. This means you need a machine that doesn’t hit as hard, which you can get from a more flexible needle bar that absorbs some of the “hit” against the skin.
There are other brands that work great like Bishop or Cheyenne. The main thing you want to focus on is finding a machine that will hold up over time. A lot of cheap machines have issues after only doing a few tattoos.
*At the time of writing, we’re not affiliated with Inkjecta or their machines. We recommend them because we use them on our clients.
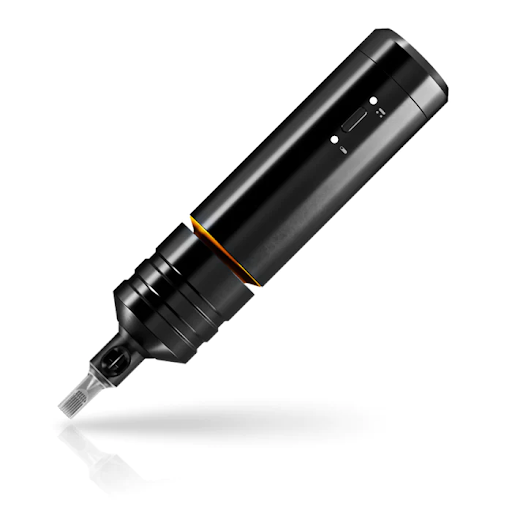
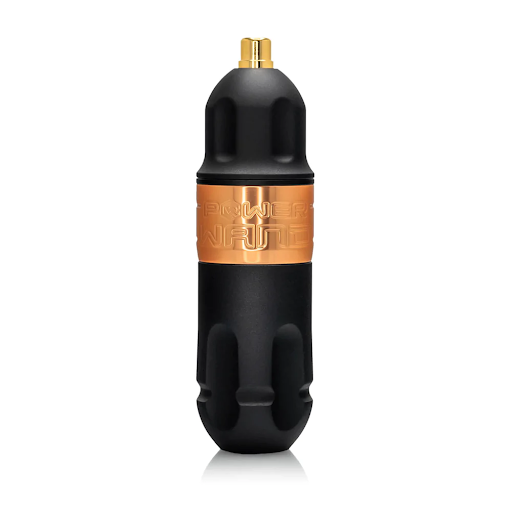
Rotary machines are basically “tattoo-ready” right out of the box. On the other hand, coil machines require a lot of tuning beforehand, which can make it harder to get going if you’re new to tattooing.
Additionally, rotary machines are lightweight, so you can hold up your machine for longer without your hands getting tired. The shaking from the machine’s motor is very small compared to coil machines.
How to Wrap a Rotary Tattoo Machine
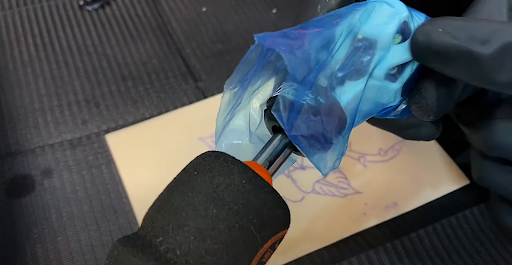
When using a rotary machine, you want to make sure you’re wrapping the actual machine so it doesn’t get ink/blood/etc. All over it.
We recommend using disposable grips so you can simply throw them away after each tattoo. This means you don’t have to deal with an autoclave.
Picking Your Stoke, Voltage, and Needle Depth

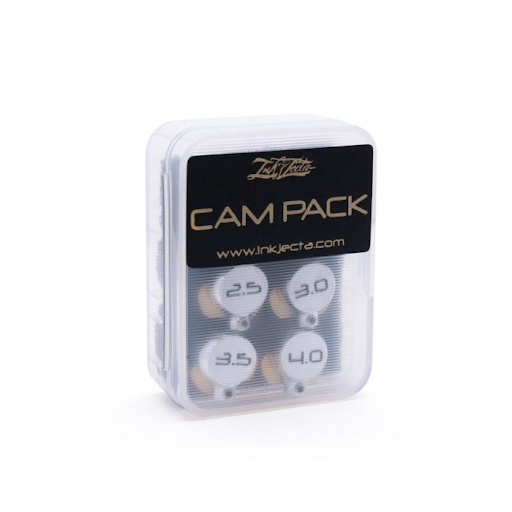
On machines with an adjustable stroke (like the Inkjecta), you will switch out the cam wheel to change the stroke.
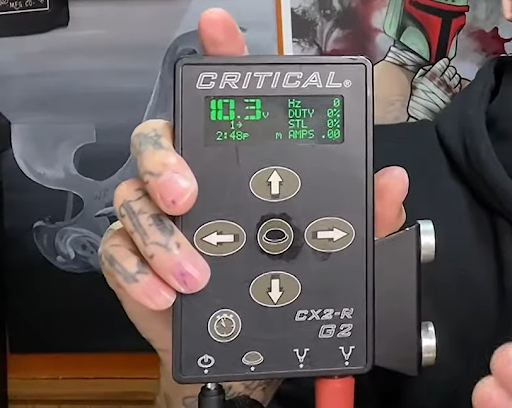
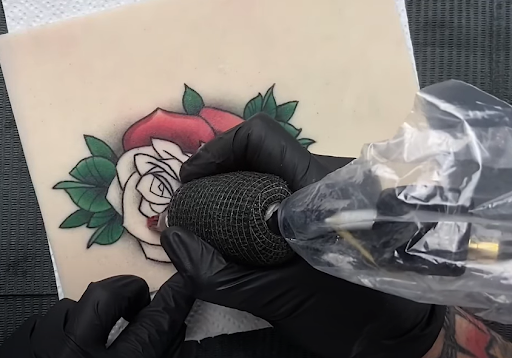
When it comes to voltage, the higher the voltage, the faster your machine is moving the needle up and down.
There is no “set voltage” you should use. Which voltage you need depends a lot on your hand speed. If you tattoo very quickly, you need a higher voltage. If you move your hands more slowly, you need a lower voltage.
In the video, Brandon is using an Inkjecta with a 4mm stroke on 9.5v with a solid (not flexible) bar. He would use this to line a NeoTraditional or Traditional tattoo using a 14 Round Liner. If he had used a more flexible bar, it would have been difficult to get such a big liner into the skin
Later, when Brandon switched to an 11 curved mag, he turned the power down to 8v to do peppery shading. Because the machine is moving slower, you’ll see the space between ink deposits in the skin, which is what creates the “pepper” shading look.
Note: When you're first starting out, you want to work on having a slower hand speed. Turning your voltage down will allow you to do that. If you're trying to work with your hand speed too slow and your voltage too high, your shading will get too dark too fast, which means it will be very hard to create transitions from black ink to skin tone.
Note:
When you're first starting out, you want to work on having a slower hand speed. Turning your voltage down will allow you to do that. If you're trying to work with your hand speed too slow and your voltage too high, your shading will get too dark too fast, which means it will be very hard to create transitions from black ink to skin tone.
Pro Tip:
One of the great things about fake skin is that you can practice finding the right balance of voltage for you and the way you tattoo instead of experimenting on a person.
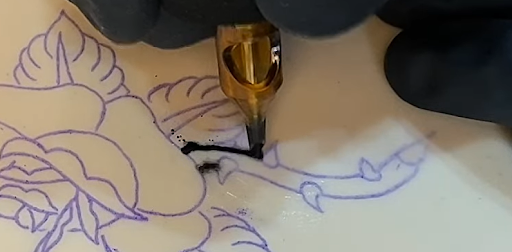
When you turn on your machine, you’ll want to make sure your
is out as far as it will be for the tattoo. If you “float the needle” and control your depth manually, you’ll hang your needle out further.
We recommend “floating the needle” because it makes it easier to see what you’re doing. Instead of pressing the cartridge right up against the skin, you’ll have a tiny gap between the cartridge and the skin.
When you’re floating the needle, you’ll use your ring and pinky fingers as a “guard” to keep your needle depth consistent in the skin. To make this easier, you can put some Vaseline on your glove over your pinky so your hand easily glides across the skin while tattooing.
Pro Tip:
Remember to also put Vaseline on the fake skin before you start tattooing. This makes it easier to pick up the ink so it doesn’t smear everywhere and make your fake skins look messy.
Lining with a Rotary Machine
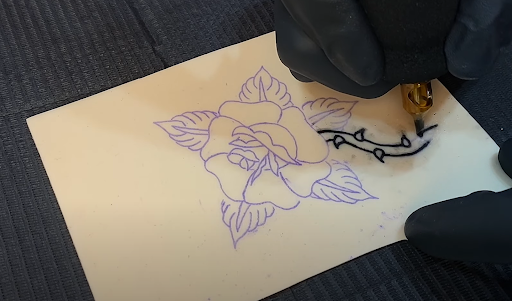
When you’re lining, you want to make sure you’re stretching the skin. Even though fake skins are flat, we recommend still practicing this when you’re learning. When you jump to real people, it will be much easier to do clean linework if you stretch the skin correctly.
Shading with a Rotary Machine
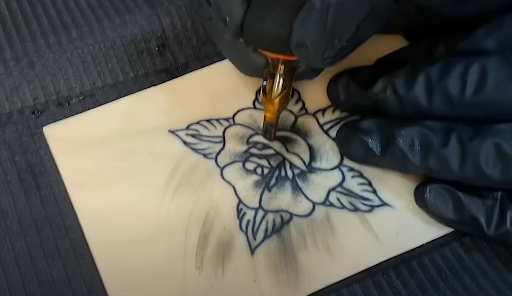
When you’re shading, you want to make sure that you're creating depth with your design.
Anything that is in the background should be darker than the foreground. (For example, leaves are normally darker than flower petals because they are behind the flowers.)
To get full coverage with your shading, you can turn your mag to the side and get into smaller areas without overworking your machine or your hand. With coil machines, this is more difficult because the machine is much heavier.Pro Tip:
When you’re done tattooing your fake skin, clean it off with only Vaseline and a paper towel. Green soap and bleach do not work as well.
Become a Tattoo Artist With the Artist Accelerator Program
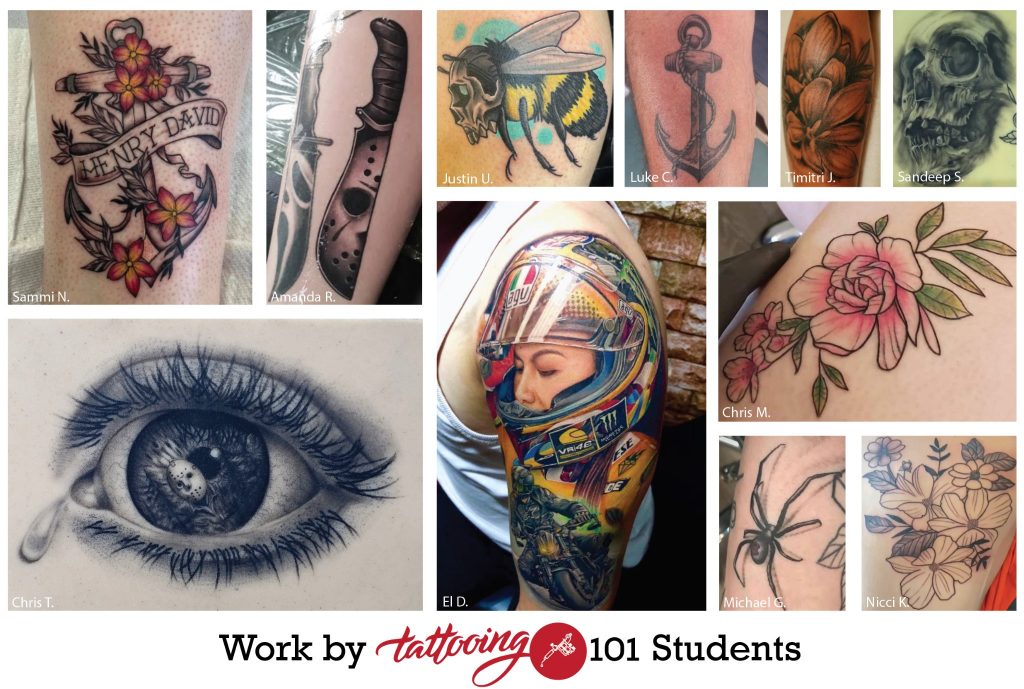
Having a career in tattooing is not only fulfilling, but it’s also the most stable way to make a living as an artist. However, for decades, the process to become a tattoo artist has been notoriously difficult.
The apprenticeship process requires aspiring tattoo artists to work 50-60 hours a week without pay for 2-4 years. That, combined with the toxic culture of abusing apprentices, makes getting into the industry almost impossible for newcomers.
That’s why we created the Artist Accelerator Program. Our online course provides a simple, structured way of learning to tattoo that has been proven to work by over 2500 successful students, with many of them having gone on to open their own shops all around the world.
Inside the program, we’ll take you through every step of the tattooing process in 9 clear, easy-to-follow modules and support you along the way within the Tattooing 101 Mastermind online community.
In the Mastermind group, you’ll collaborate with other students, get answers to your questions, and receive personalized video feedback on your artwork and tattoos from professional tattoo artists. With this friendly community of both new and experienced tattoo artists, you’ll never be stuck again.
When you join the Artist Accelerator Program, you’ll have instant access to the full course and the Mastermind community, as well as our 30-Day Flash Challenge and recorded interviews with tattoo artists from all over the world.
Click here to learn more about the Artist Accelerator Program.

